Exchange365 Security Settings
Exchange365 connector requires two Azure App Registrations. One for calendar synchronization and one for sending e-mail.
Complete list of parameters can be found on Exchange365 Connector Parameters.
In case of problems try the steps outlined on the Troubleshooting page.
Azure App Registration for Calendar Integration
Open Azure App registration page on Azure: https://go.microsoft.com/fwlink/?linkid=2083908.
Do the following:
Create a new App Registration
Name it “Totalview Calendar Synchronization”
Set Supported account types to Accounts in this organizational directory only (<Customer Name> only – Single tenant)
Leave Redirect URI unchanged
Press “Register”
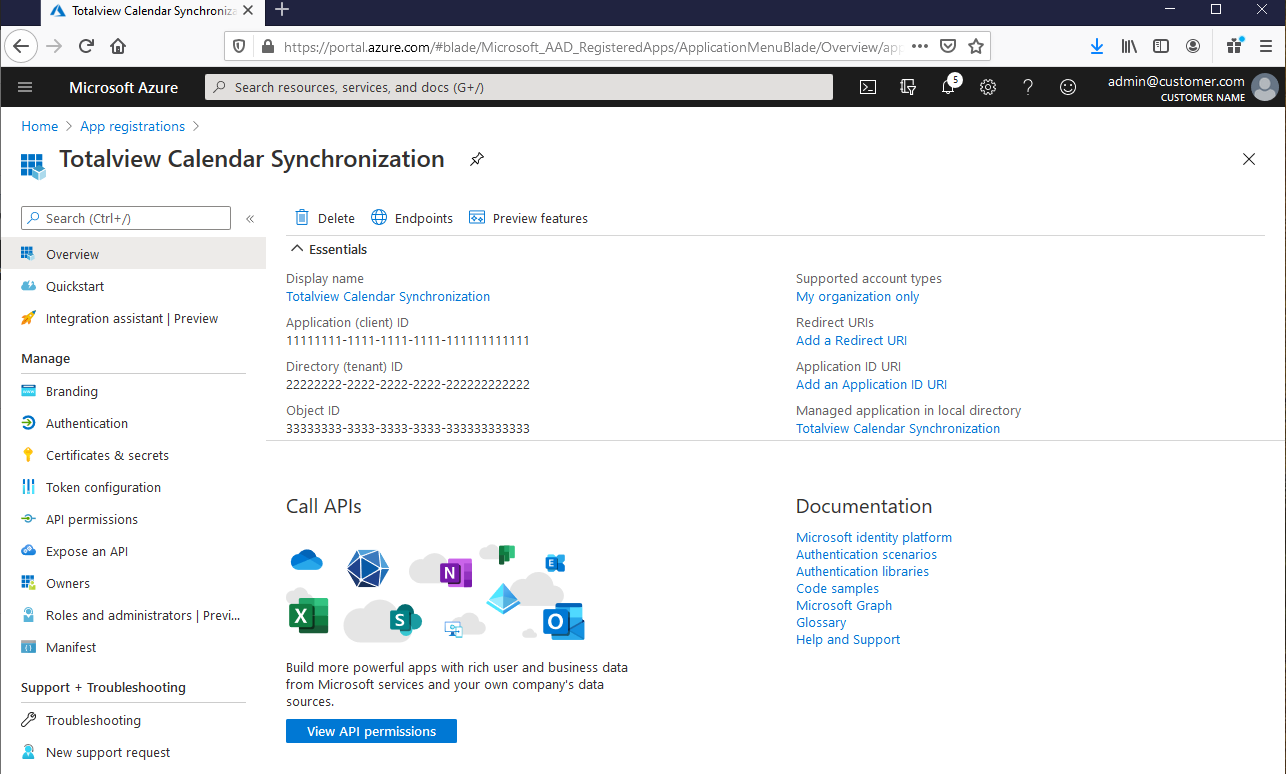
Go to the Overview tab for the new App registration and note down Directory (tenant) ID and Application (client) ID values
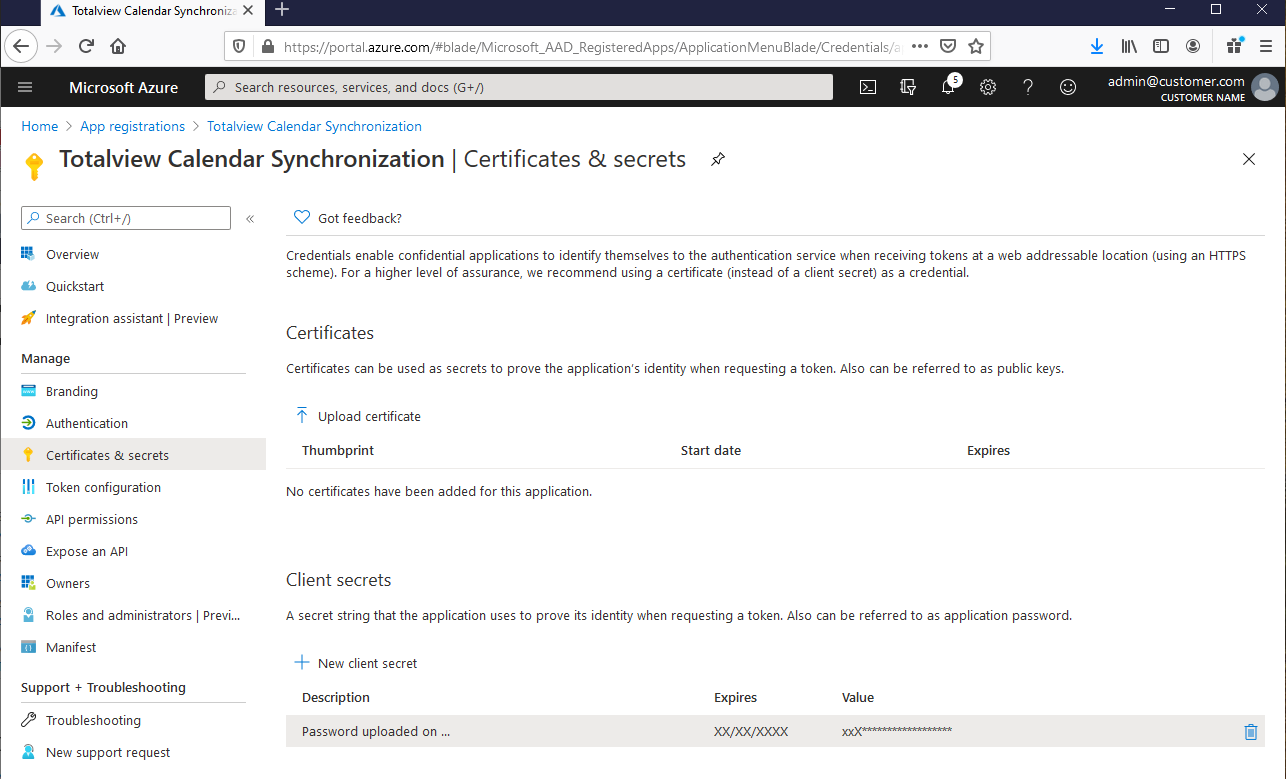
Go the Certificates & secrets tab
Press “+ New client secret”
Set Expires to a value that you are comfortable with
Press “Add”
Note down the generated client secret Value (the Client Secret ID can be disgarded - it is not used.)
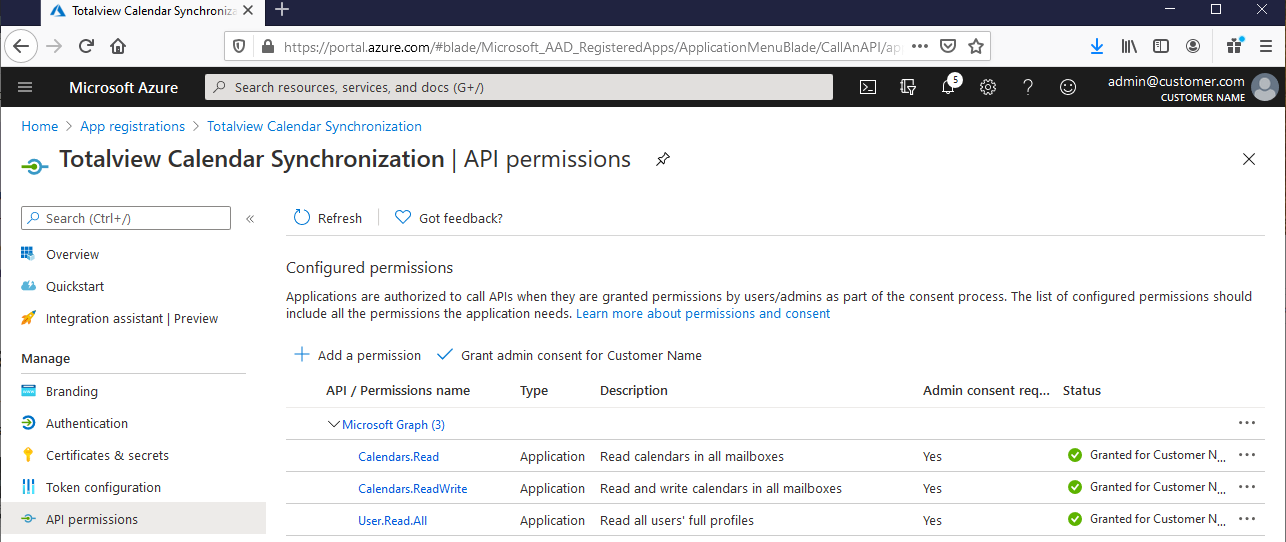
Go to API permissions tab
Remove the auto-generated User.Read permission, if present
Select “Add a permission”
Select “Microsoft Graph”
Set type of permission to Application permission
Check Calendars.Read, Calendars.ReadWrite, User.Read.All
Press “Add permissions”
Press “Grant admin consent for <customer name>”. If you do not have permission to do this yourself, forward this task to the relevant person in your company
If desired, permission can be further restricted to only specific Office365 user accounts. See Restrict Azure App Registration Calendar Access Permissions for guide on how to do this.
Azure App Registration for E-mail
Steps are the same as for calendar, except for the following:
Use a different name for the App Registration - for example “Totalview E-Mail Sending”
GraphAPI permission check should only include Email.Send
Configure GraphAPI permissions as specified in Restrict Azure App Registration E-mail Permissions